Xero Integration
The Xero Integration feature allows you to import all your Xero Customers into BufferZone.
BufferZone will attempt to match up existing BufferZone Customers by using Address details.
The user can log into Xero from the Shop Information Page. The application will store the token so it can use it to create Xero invoices for this shop.
Go to the Shop Information page via the Admin menu
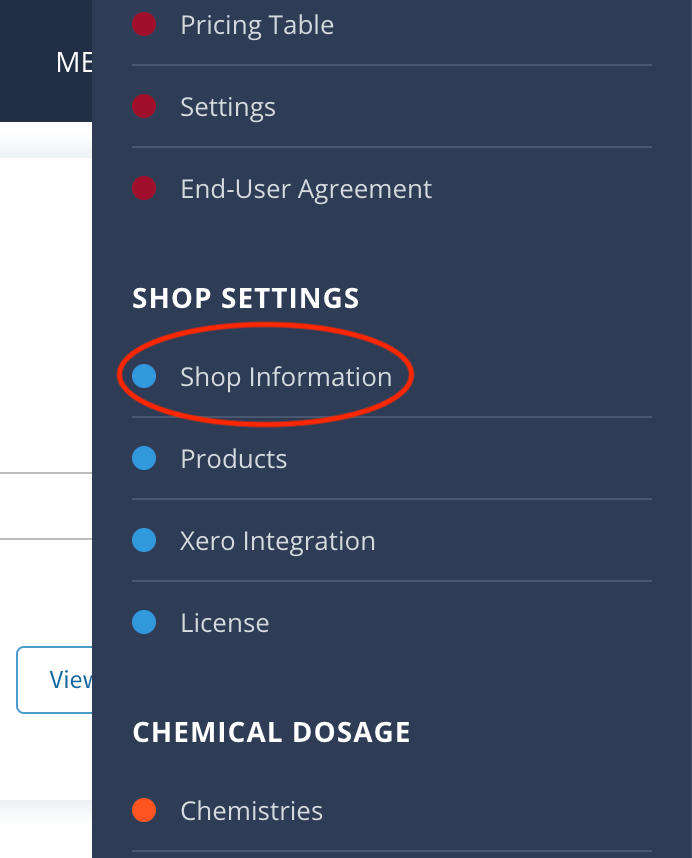
Step 1: Select “Xero“ in the Accounting App in Shop Settings
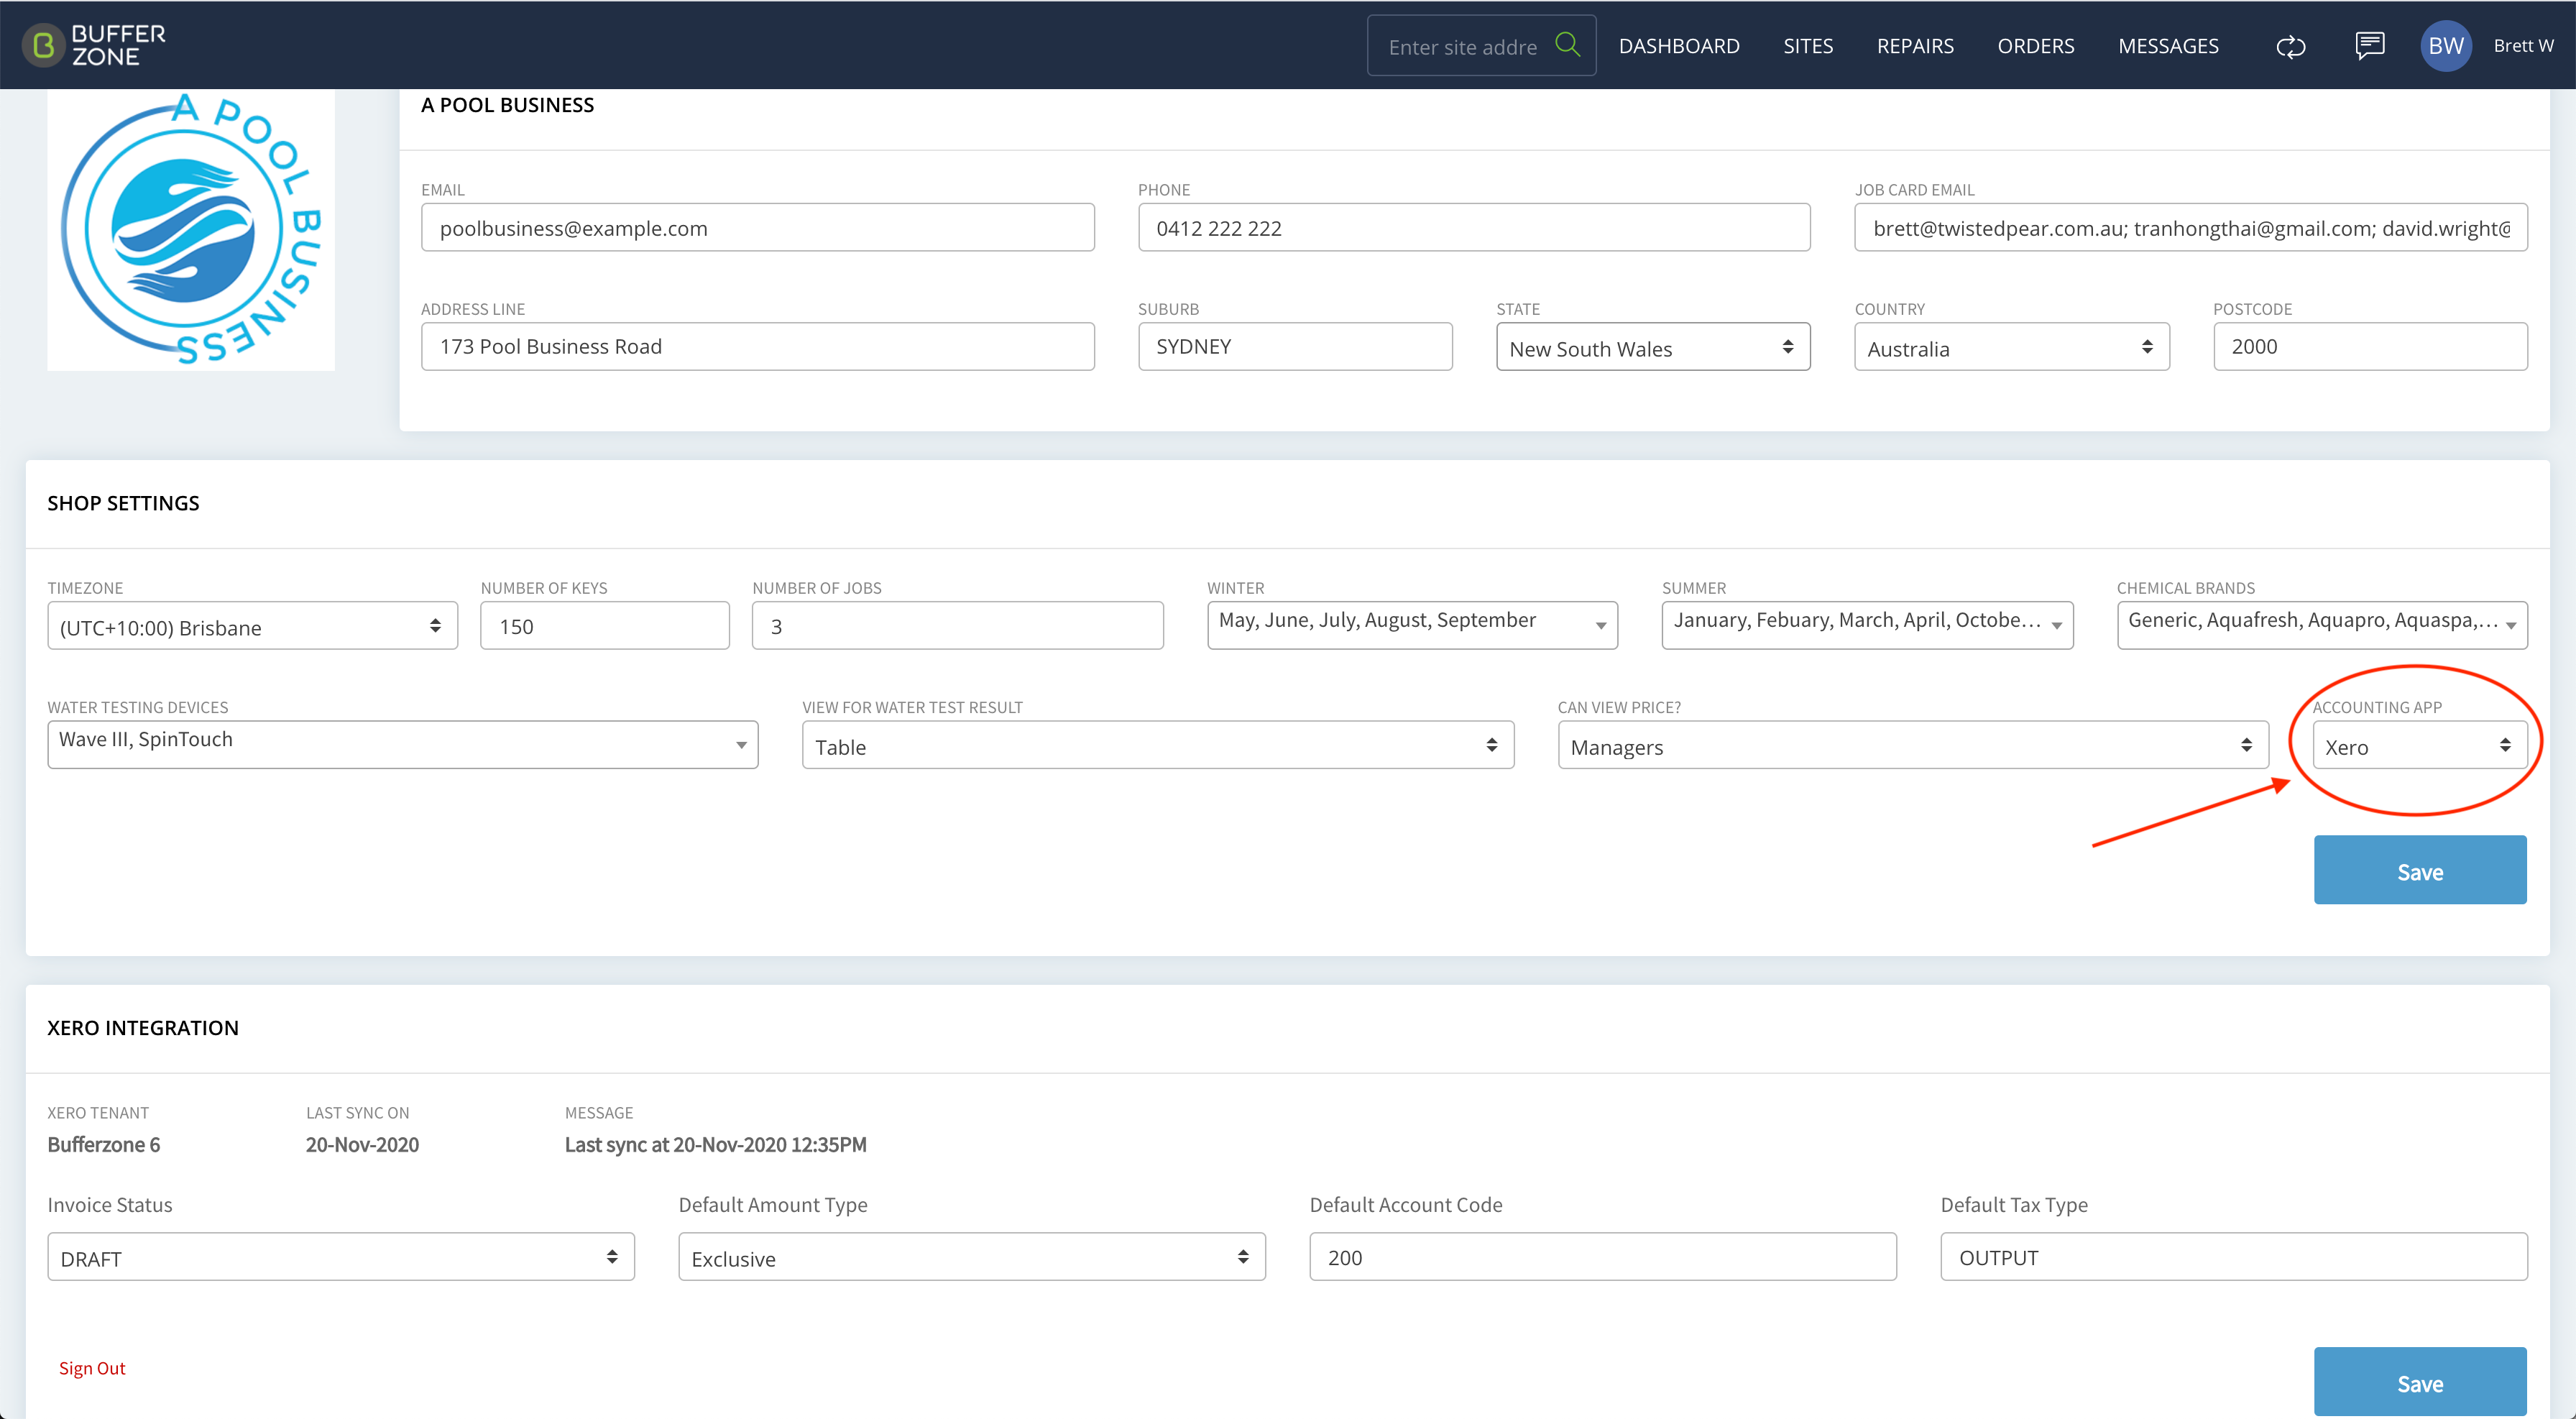
After you select to use Xero, old job cards will not be sent to Xero but the job cards created after this time will be put in the waiting list to send to Xero even if you haven’t logged in to Xero yet. After you log in to Xero, these job cards on the waiting list will be sent.
Step 2: Open Xero Integration from the Admin Menu and click on Sign Into Xero.

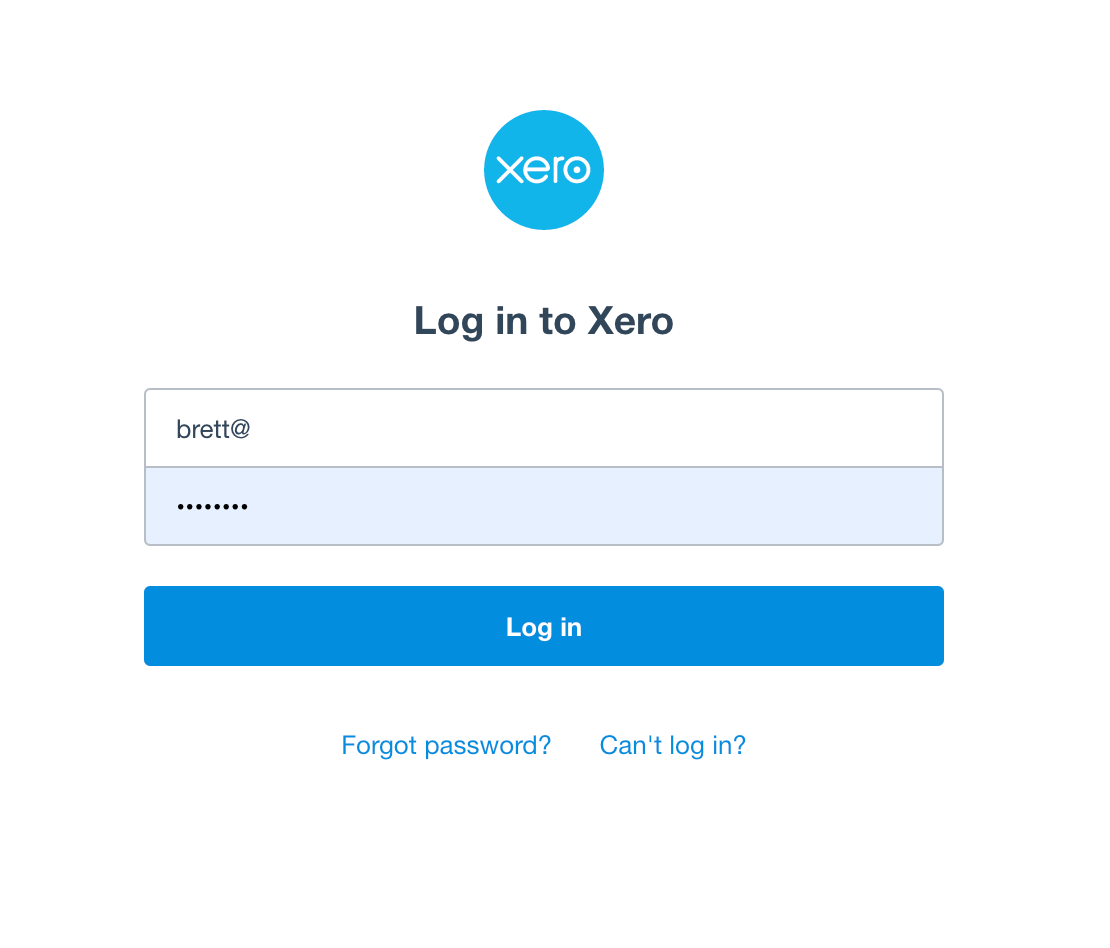
Step 3: You will be redirected to the Xero login page. Log in with your Xero account.
Step 4: You will be asked to grant access to BufferZone
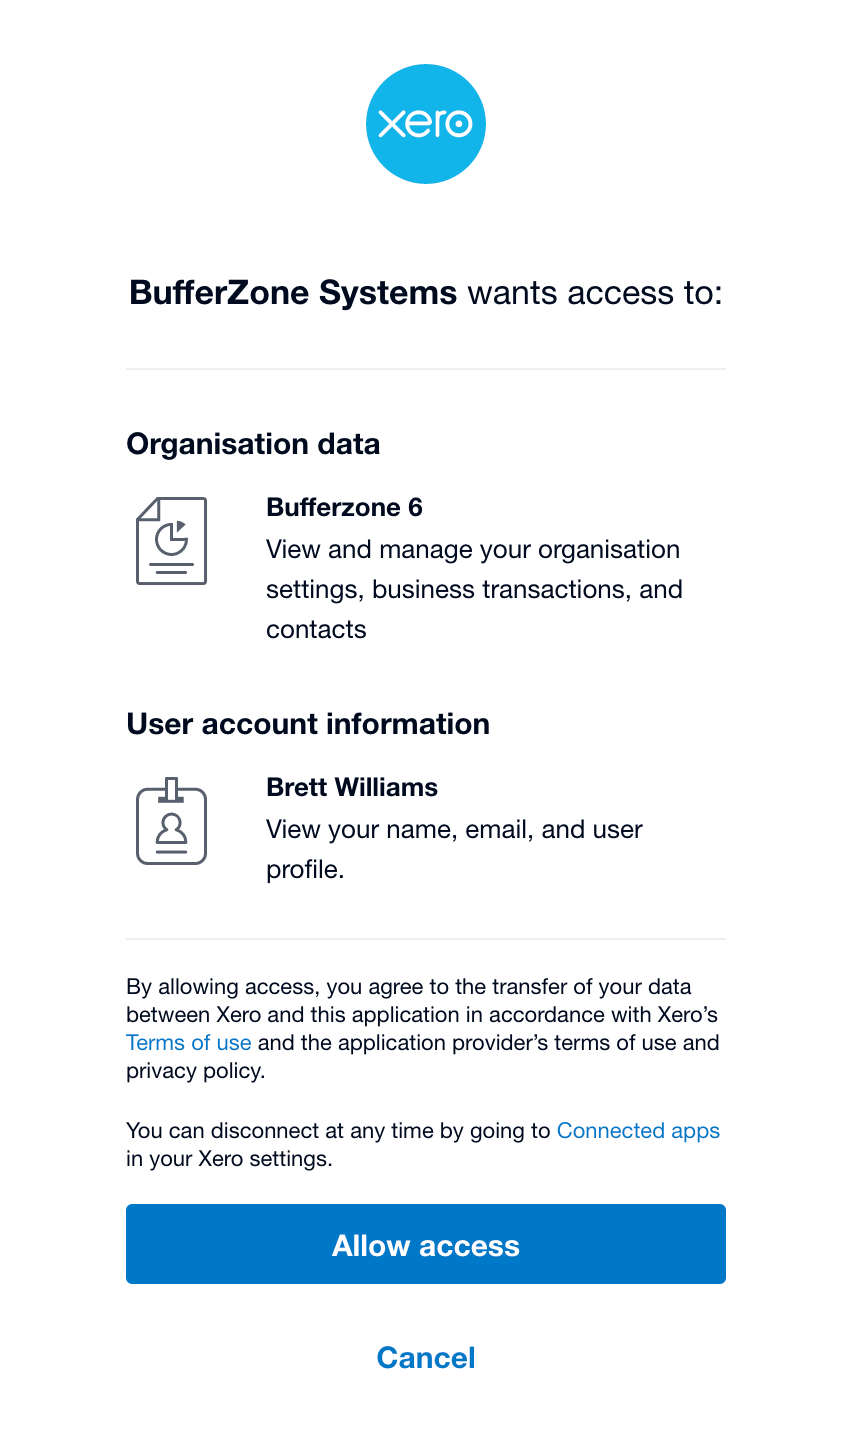
Step 5: You will be redirected back to Bufferzone

You can see that Bufferzone is connected to your Xero Account but no Sync has been done yet.
Sync will happen every 5-10 minutes to Sync Xero Contacts and Addresses to your Bufferzone application.
When syncing has finished, the Last Sync On message will change to show the date and time of the last sync

Bufferzone will sync data from Xero to Bufferzone (one way) automatically.
Other Settings
Configure the other settings to match your Xero account
Invoice Status - Draft (invoices will be sent to Xero as drafts and need to be approved and sent from Xero to customers) and Submitted (invoices will be automatically and immediately sent from Xero to customers)

2. Default Amount Type - Inclusive (prices are listed inclusive of tax eg GST) and Exclusive (prices are listed exclusive of tax (which will be added on top of the listed price) eg GST

3. Default Account Code - used for one-off products or products that are in Bufferzone but not in the Xero Inventory list. Account code 200 is the default Sales Account code in Xero but it can be set to whatever you want.

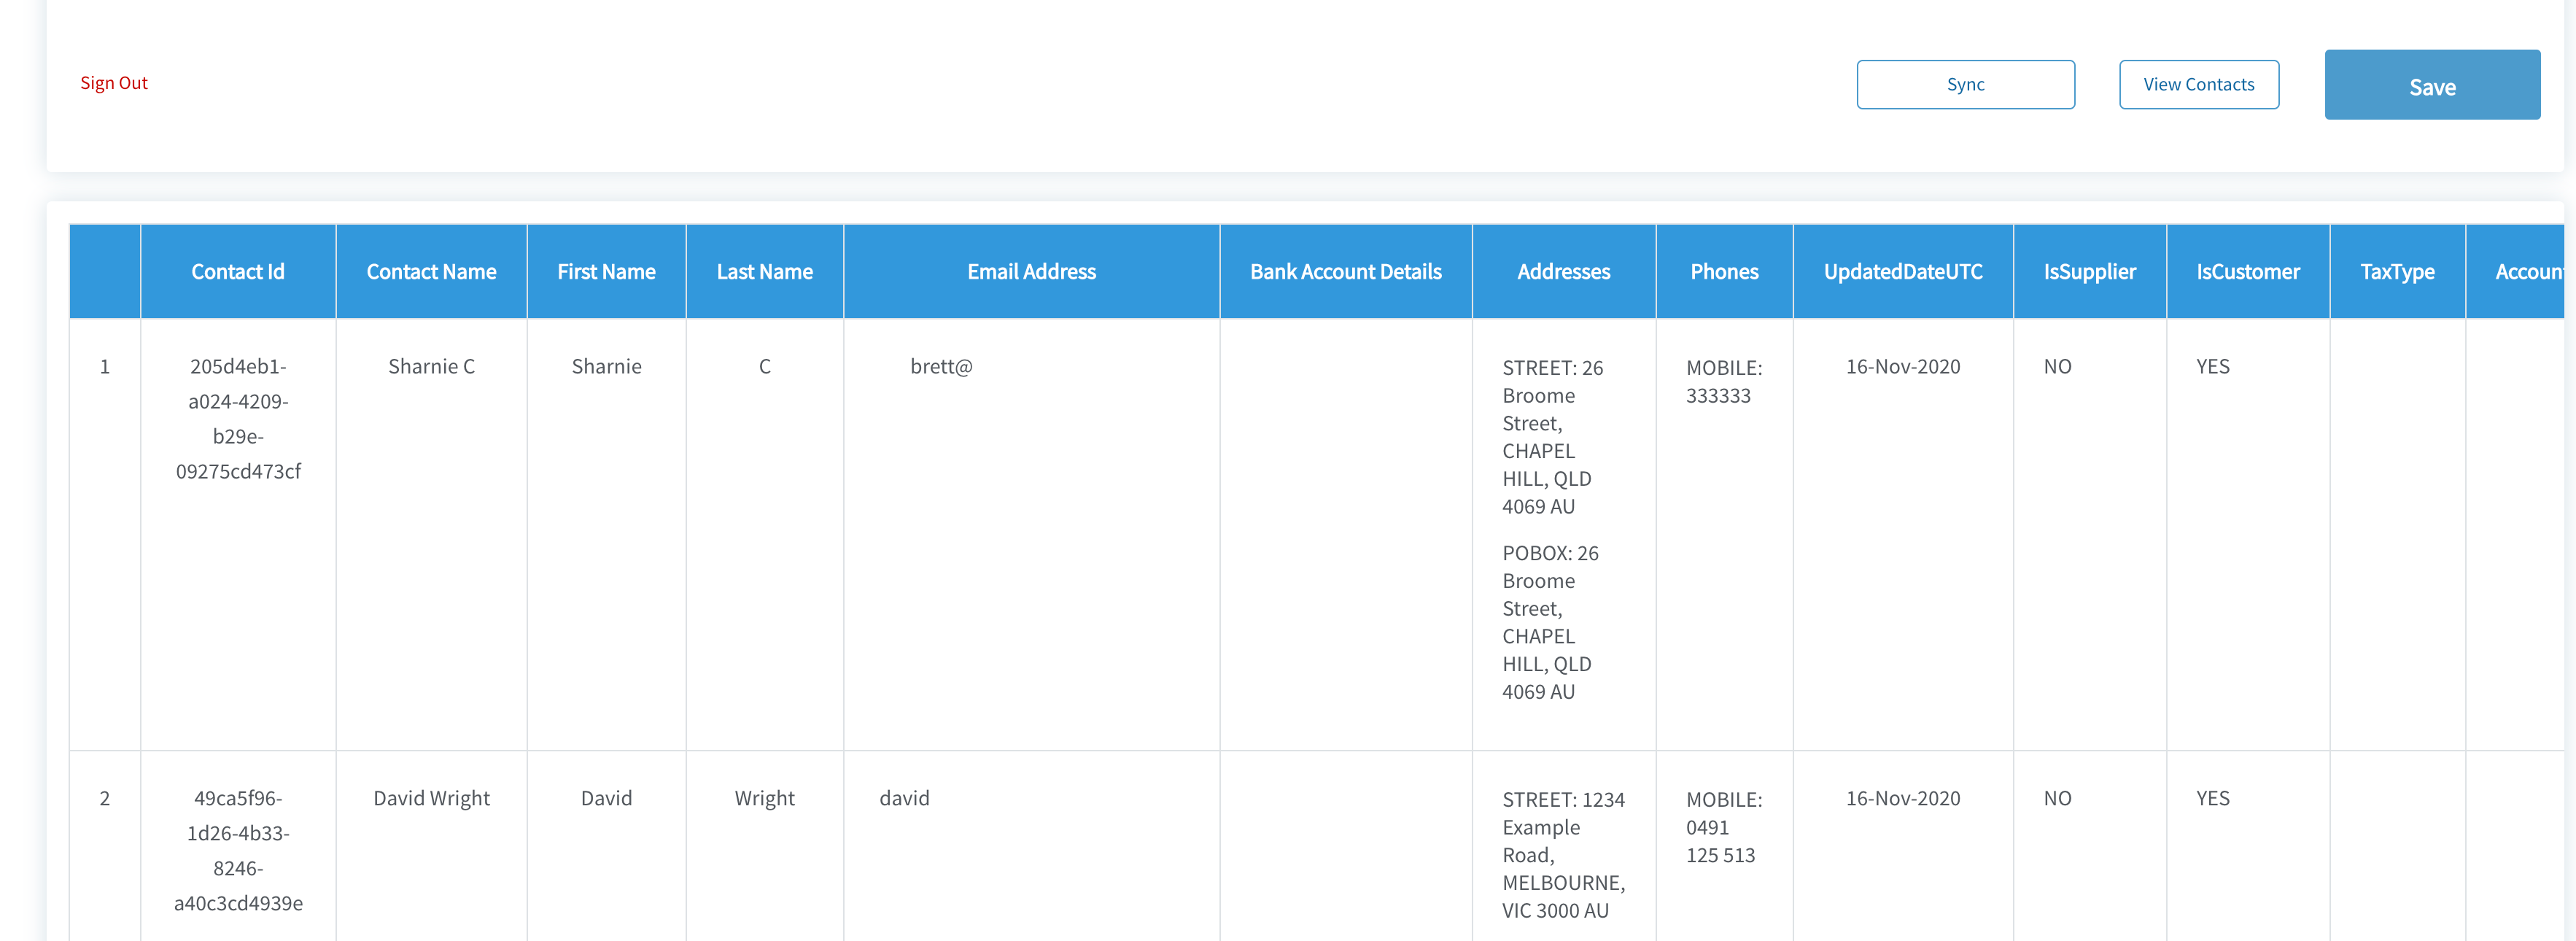
4. View Contacts - this will display synced contact details on this page
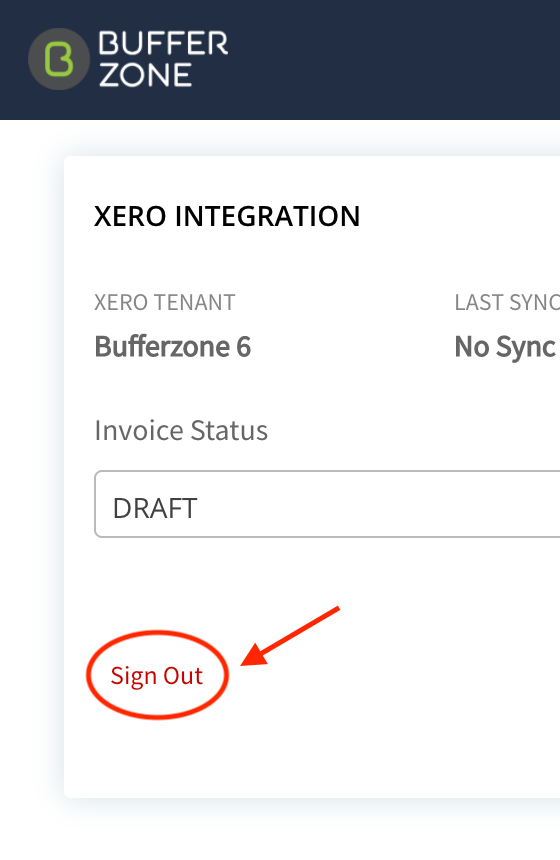
5. Sign Out - sign out of Xero
