

Creating a Shop Information Page SOP
Objective
This SOP outlines the steps to set up and manage the shop information page effectively.
Key Steps
-
Accessing the Shop Information Page 0:01
Creating a Shop Information Page SOP
Objective
This SOP outlines the steps to set up and manage the shop information page effectively.
Key Steps
-
Accessing the Shop Information Page 0:01
-
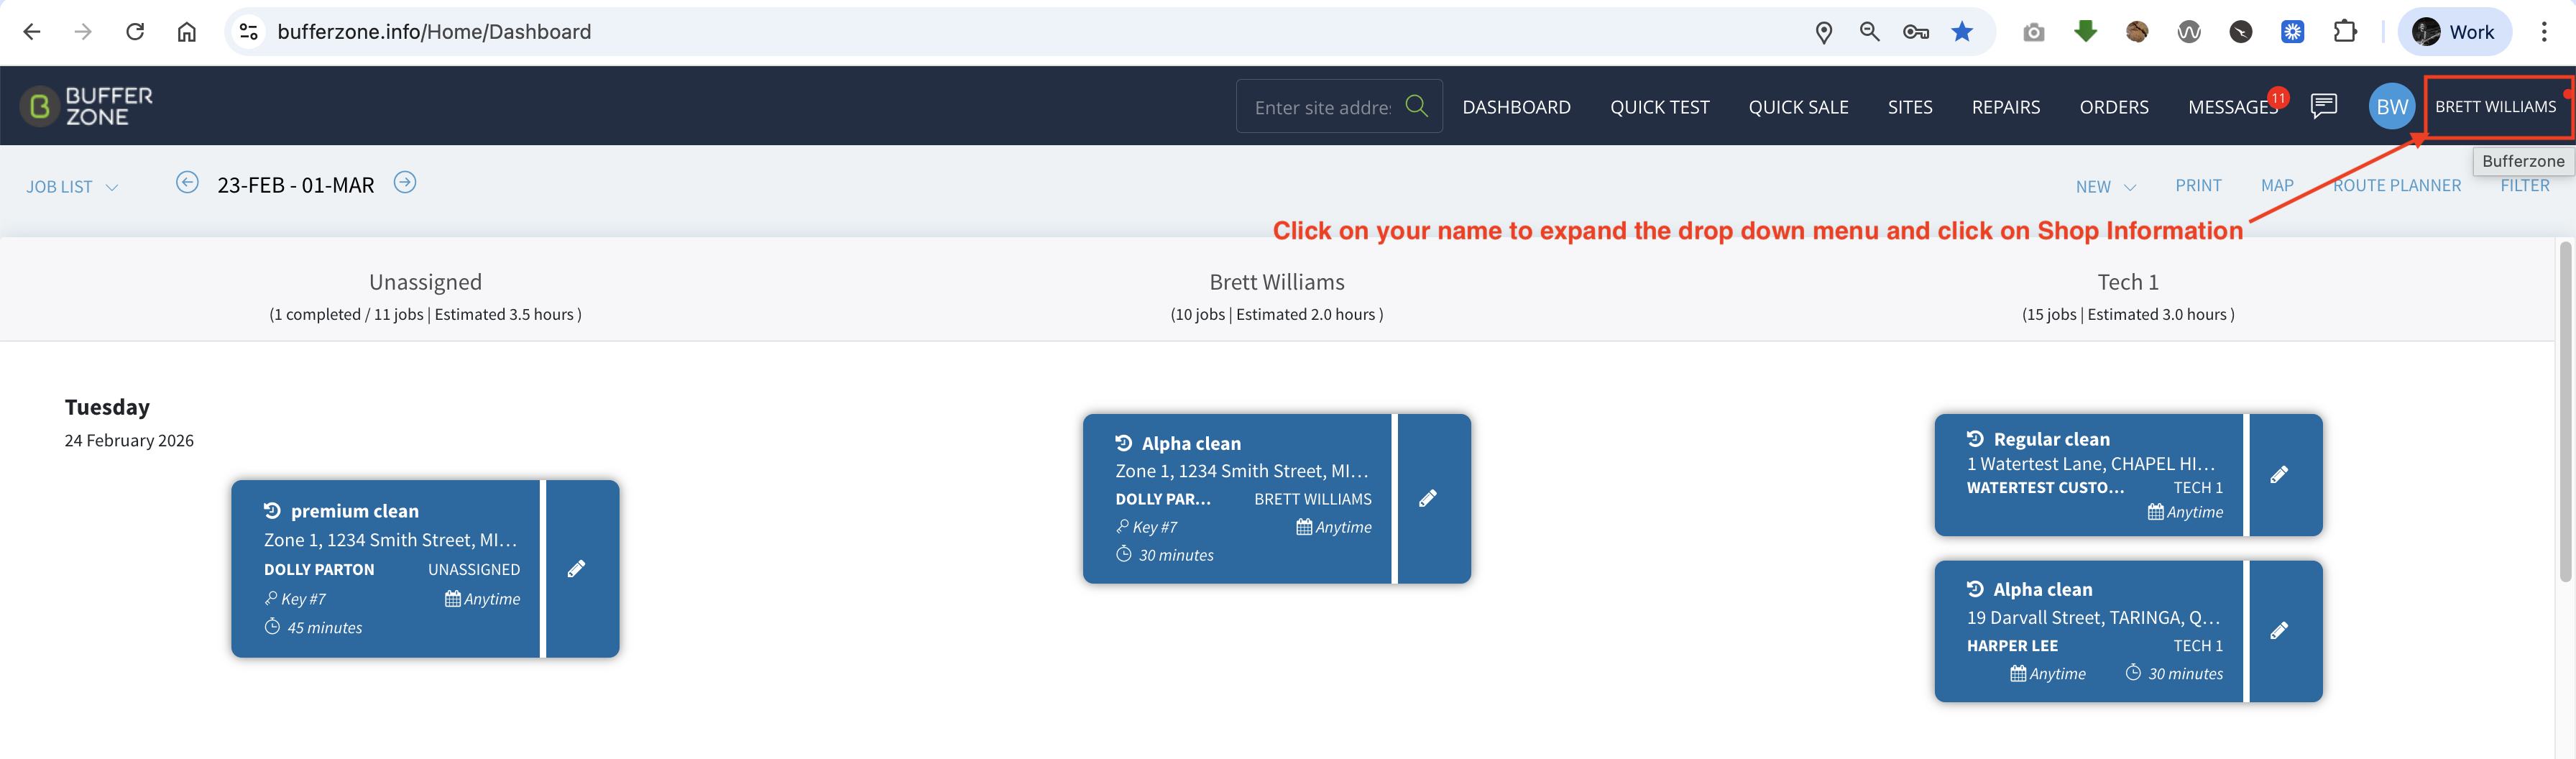
Click on your name located in the top right corner of the screen.
-
Select 'Shop Information' from the drop-down menu.
-
Uploading Your Logo 0:15
-
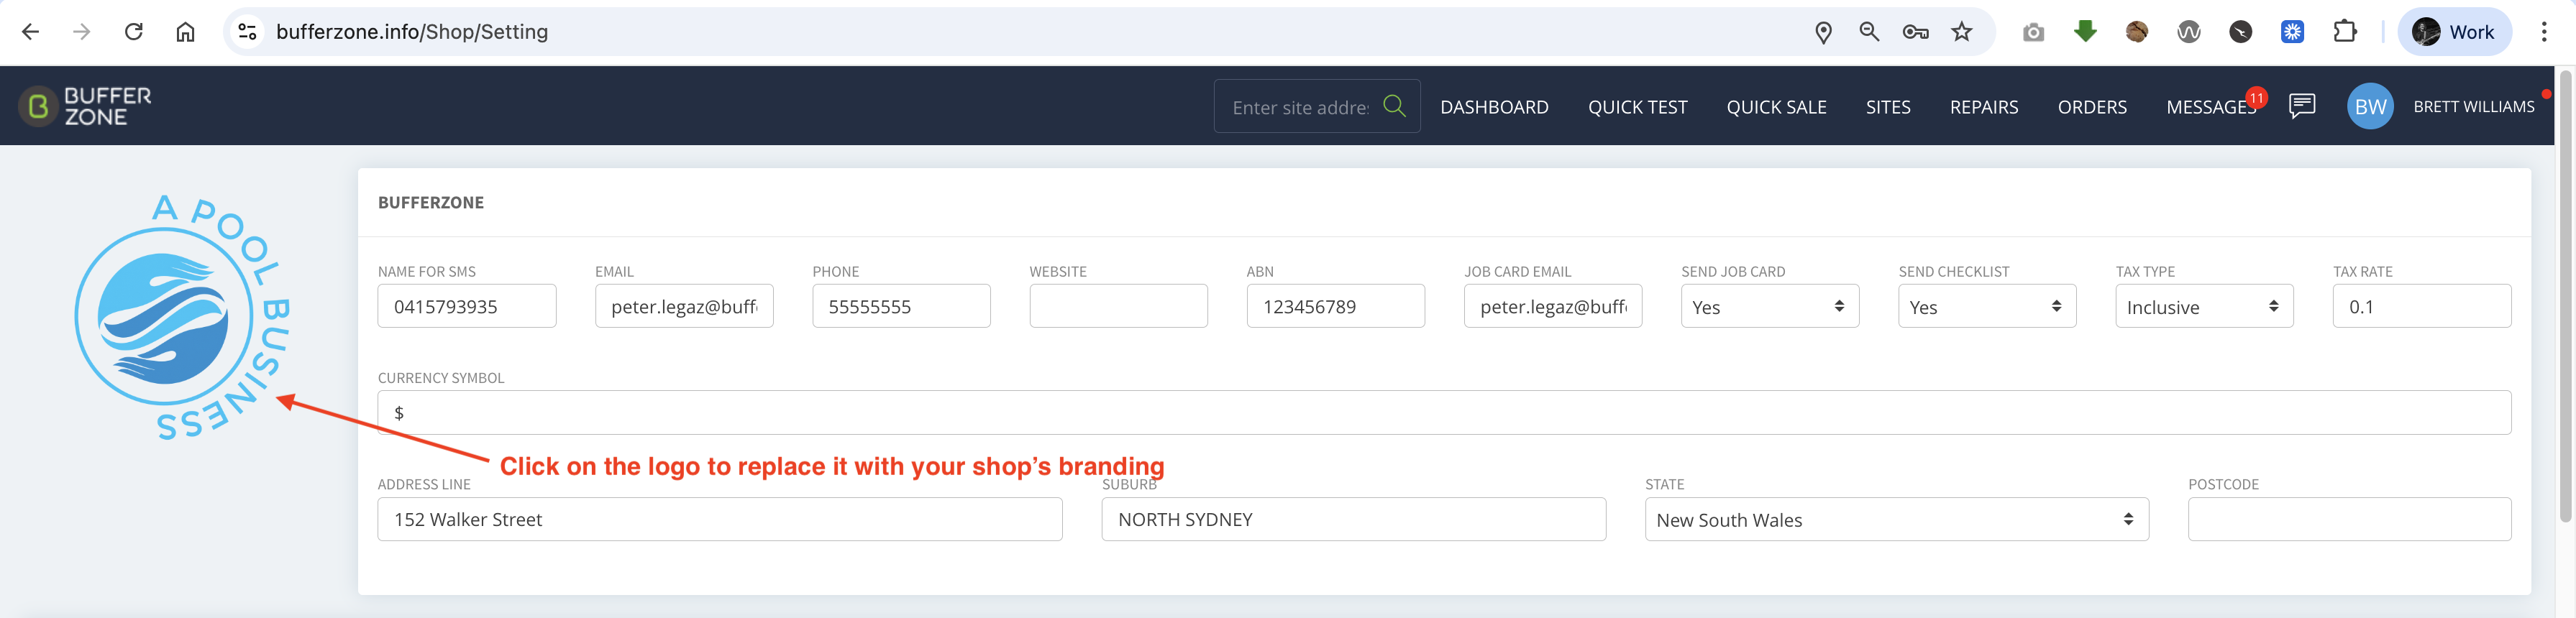
Locate the logo area in the top left corner of the shop information page.
-
Click on the logo to upload your own logo from your computer.
-
Keep your logo file ready for upload to save time.
-
Setting Up SMS Name 0:35
-
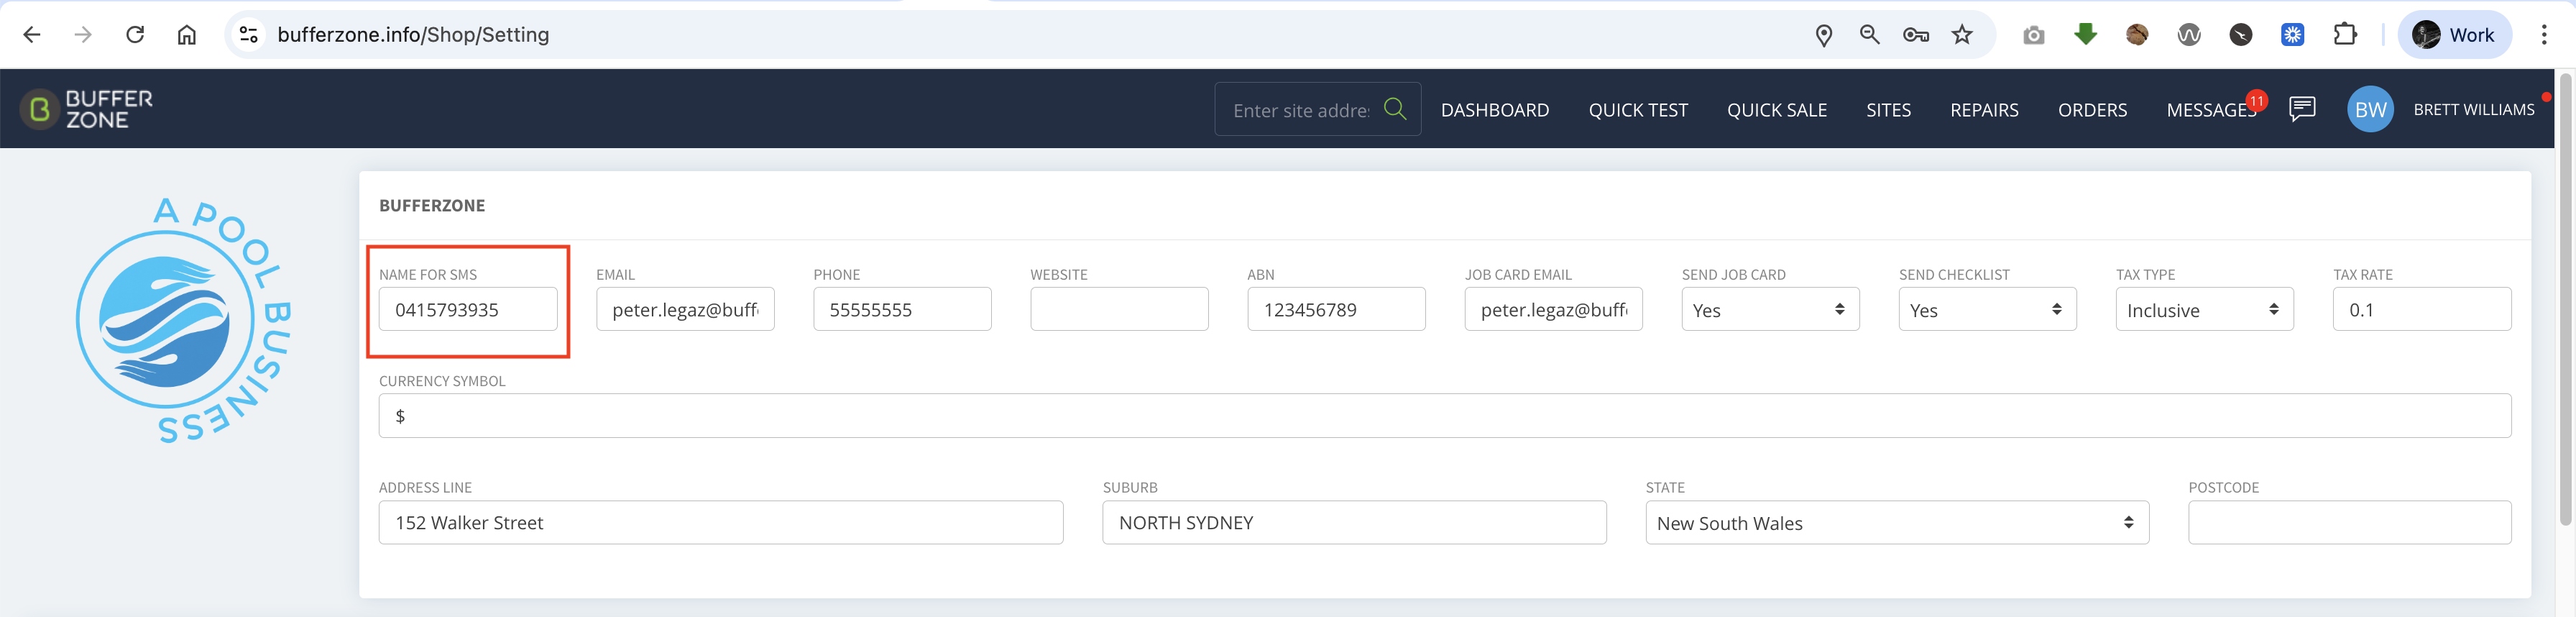
Enter a name for SMS in the designated field. This is an alpha tag used by the SMS broadcast application.
-
Note: Currently, this should relate to the name of the store.
-
Submitting SMS Name for Approval 0:52
-
After entering the SMS name, provide it to us so we can submit it for approval through the SMS application.
-
Entering Shop Contact Information 1:03
-
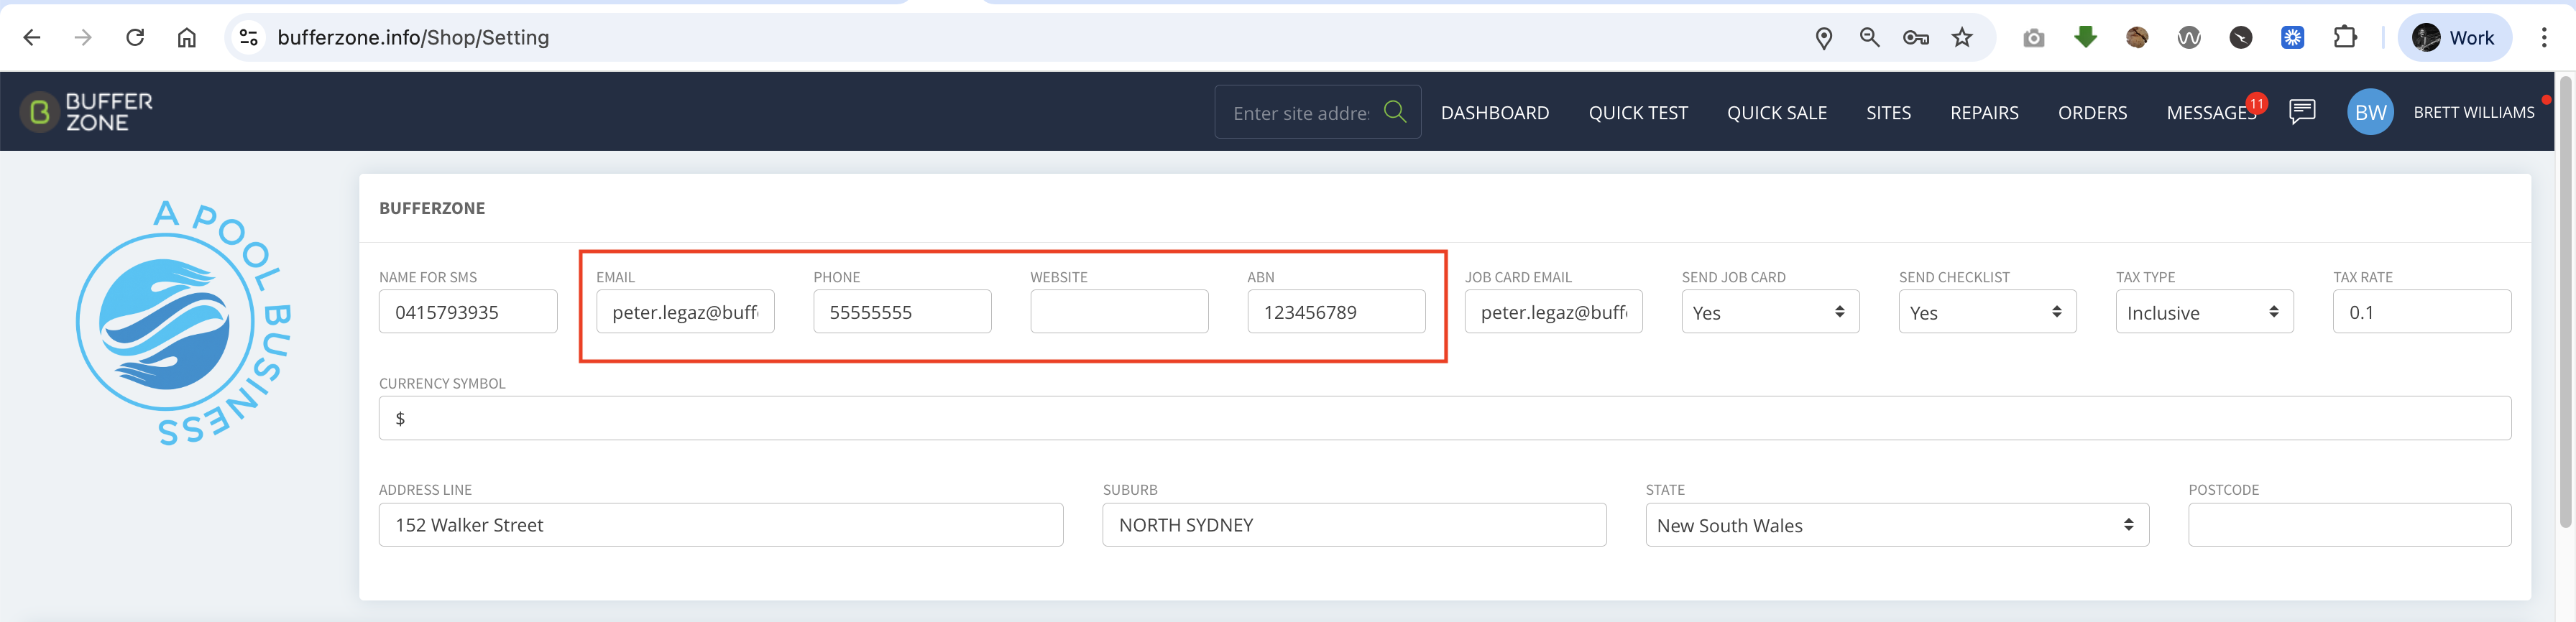
Fill in the following fields:
-
Shop email
-
Phone number
-
Website (if applicable)
-
ABN (Australian Business Number)
-
-
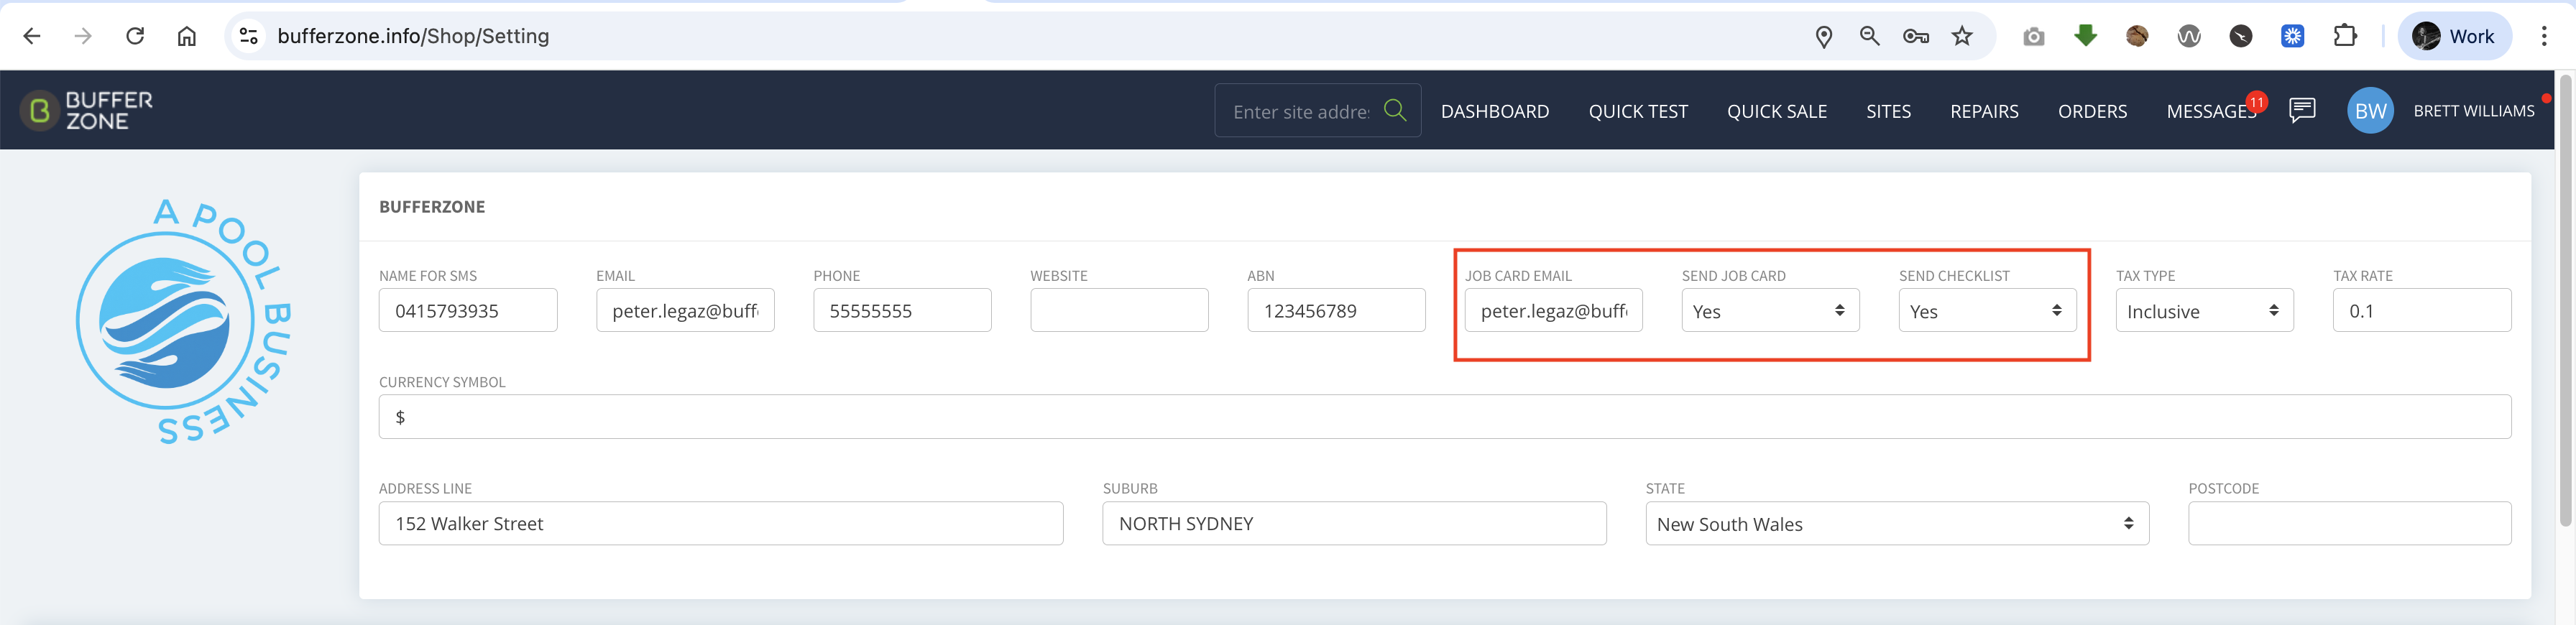
Job Card Information
-
You can enter a separate email that your job cards will be sent to.
-
You can decide whether or not you want your shop to send emails
-
You can decide whether to include Checklist Items on the job card (Checklist items can be added to any job or job type for convenience)
-
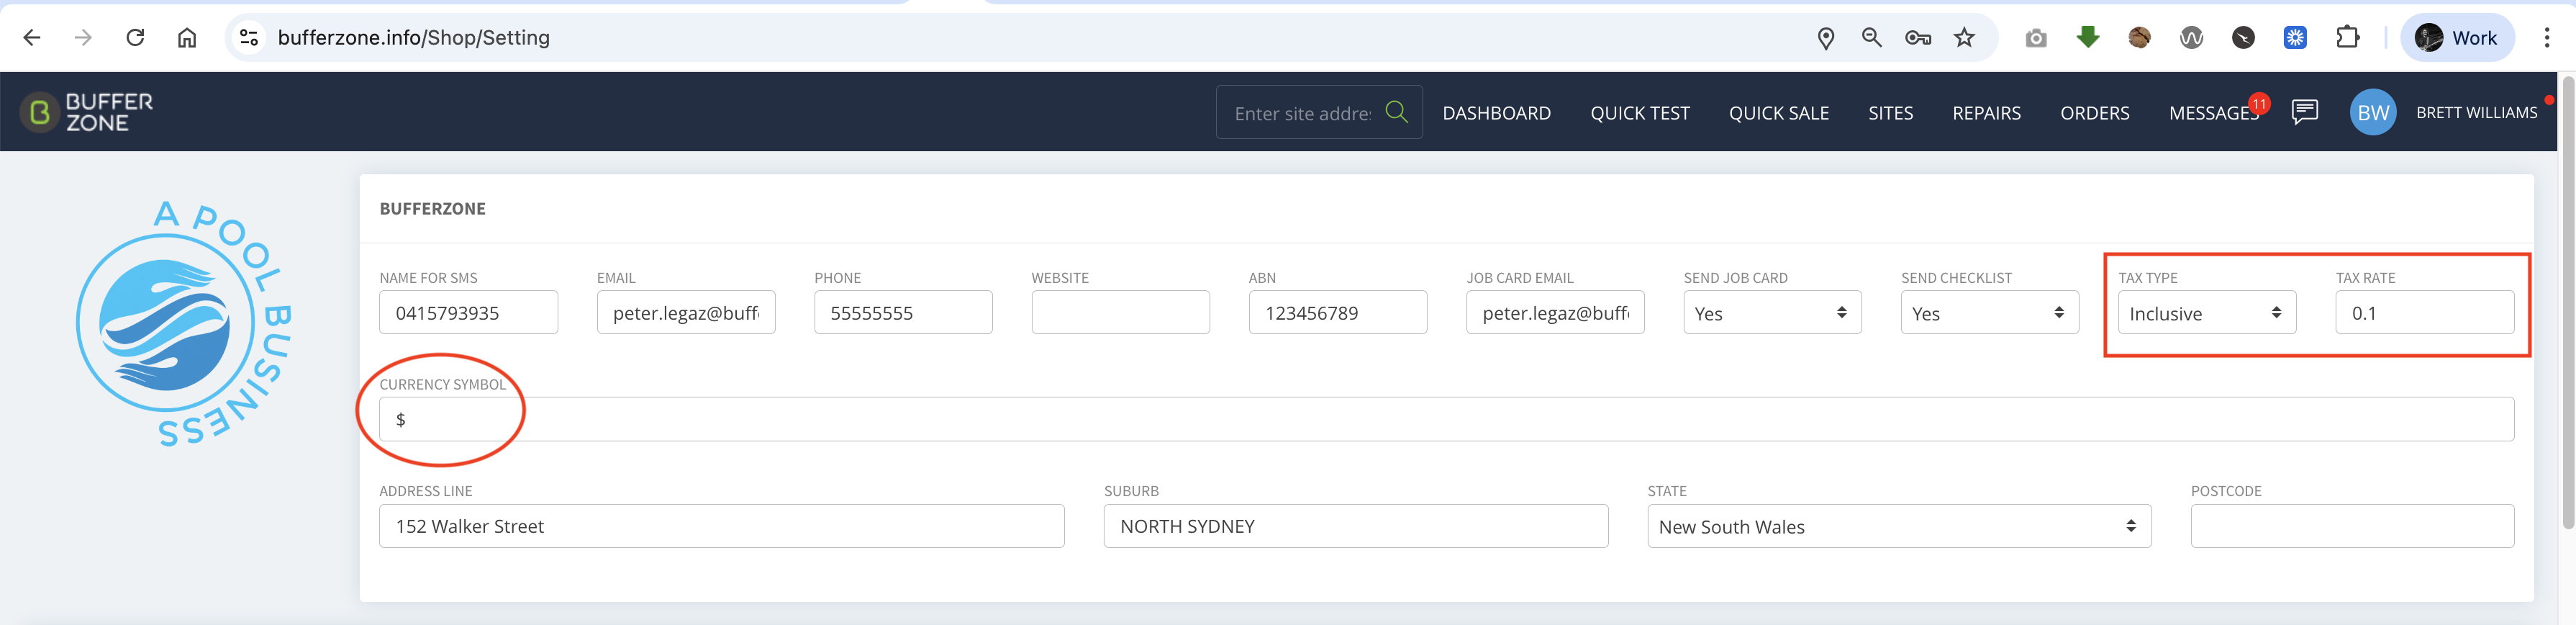
Tax Information
-
Select whether prices display INCLUSIVE or EXCLUSIVE or Sales Tax (GST VAT etc)
-
Set the tax rate (set to 0.1 or 10% by default)
-
Enter your currency symbol (set to $ by default)
-
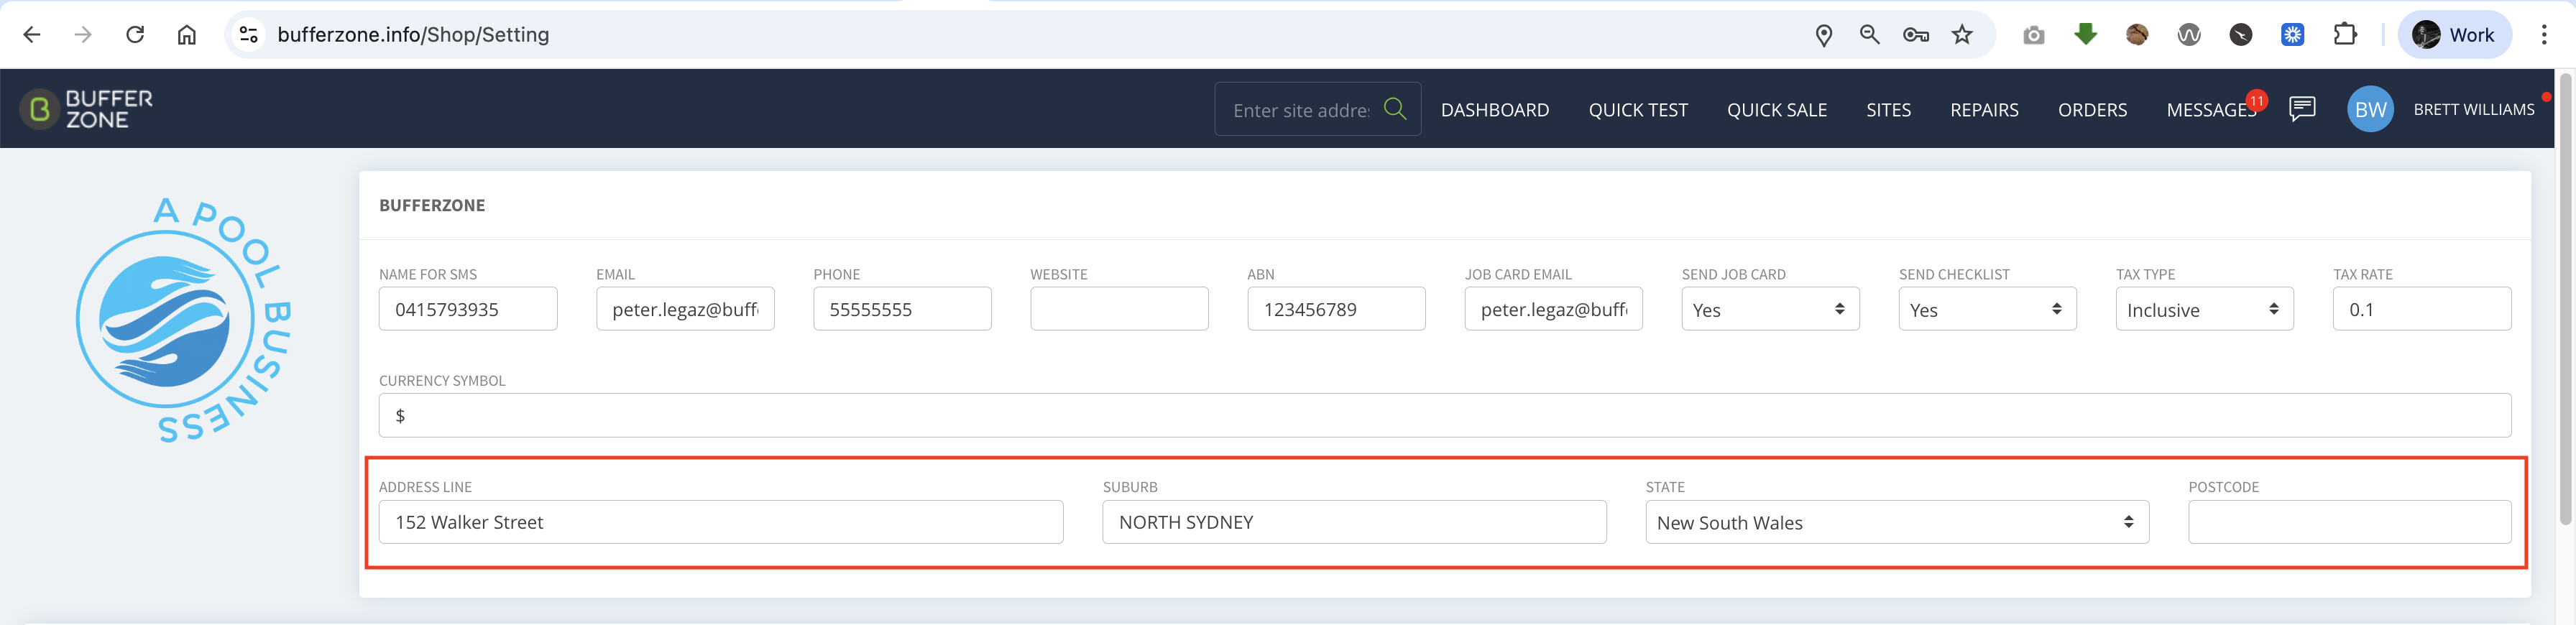
Business Address
-
Enter details of the Shop's physical address (this can be left blank if you are an online business with no shop front)
Link to Loom